"Wet" Pickguard Installation
© Frank Ford, 7/28/99; Photos by FF, 7/21/99
Here's the same job again, this time using a slightly thicker (.005") material, available from L.M.I..
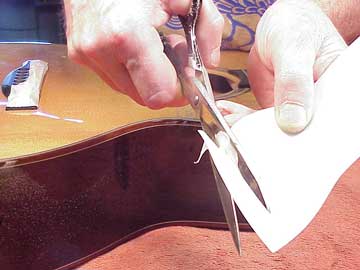
Cutting out the shape:
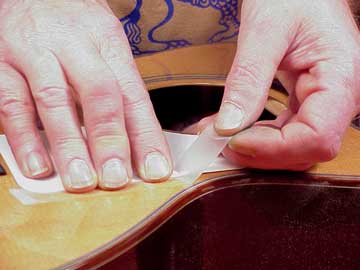
Taping it in position:
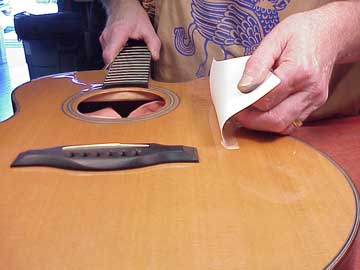
Folding the "hinge" back:
Starting the "peel"
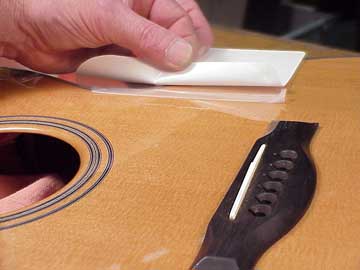
Ready for the water -
I'm using just a drop of detergent in about two cups of water, just to help it flow out a bit. I've leveled up the guitar so the water won't run straight off, and I'm flooding it on in as big a puddle as I can:

Notice that I've stuffed a lot of rags inside the guitar for obvious reasons.
Adding more water as I roll the pickguard down:
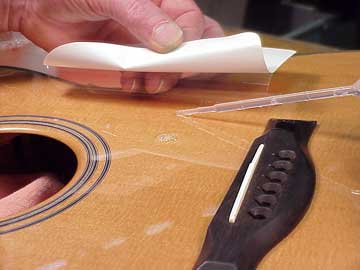
See how the water floods out and carries all the air bubbles with it:
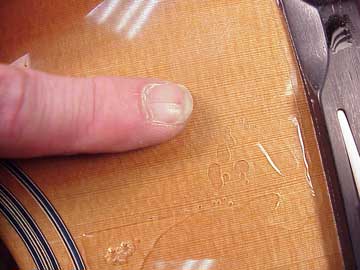
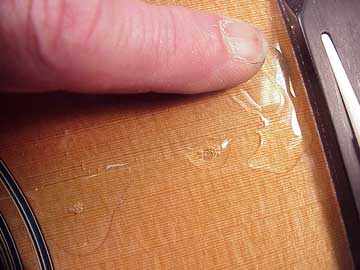
Pressing and smoothing with the corner of my little cork block:

I have to be really careful pulling off the tape, because the adhesion of the pickguard won't develop fully for a few days:
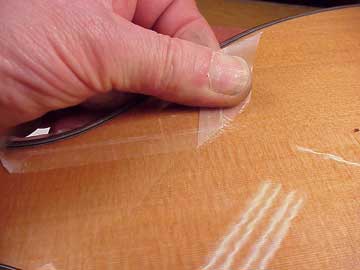
I'm pulling the tape across, holding it flat to the guitar top so I don't tend to lift the new pickguard.
The water keeps static electricity from attracting room dust, so the job goes a bit cleaner that the dry method.
Pretty amazing, but the process makes sense when you think about it. Being non-compressible, the water squeezes, leaving nothing but the original adhesive between the Mylar and the guitar top. In the coming days, the tiny residue of water will be absorbed through the instrument's finish, and adhesion will be just the same as if I hadn't used water.