Page 2 of 2
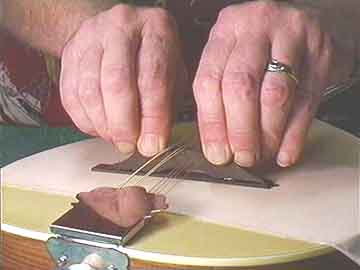
Here I'm laying on a thick bead of medium viscosity cyanoacrylate (super glue)

Then, without wasting too much time, I raise the strings and simply hold the bridge
firmly in place on top of my shim:

Because the shim is grossly oversize, I don't have to worry about getting the alignment
just right. That's a good thing, too, because with all that catalyst the glue sets
instantly!
The reason for doing this right on the top of the instrument is so that the shim
will fit exactly. If there's any discrepancy in the contour, the catalyzed glue will
fill the small voids between the bridge and my shim.
In just a few seconds I can lift the bridge off the mandolin top and slide it out
from under the strings. A few passes with my knife, a small plane, or my 1x42 belt
sander will make short work of trimming the excess of my shim.
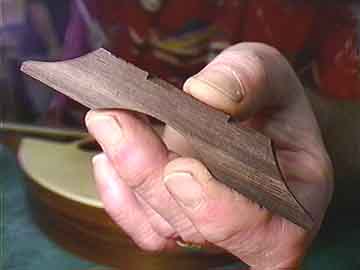
After trimming, the shim is hardly noticeable:

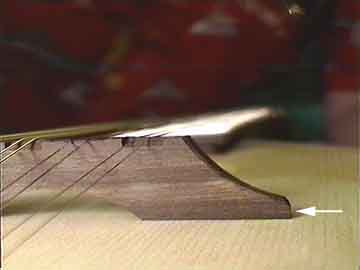
Here's the bridge back in place with its shim glued and neatly trimmed:

If you look closely you can just make out the glue line. The bridge still fits the
top very neatly, too.
I could hide the line with a bit of stain, but most of the time it's not really necessary.
If I'm working with a particularly black ebony bridge I'll mix a little lampblack
in with my medium viscosity cyanoacrylate before I apply it to the bridge bottom.
I like cyanoacrylate for this job because the catalyst makes the stuff set right
up and because the catalyst also weakens the bond slightly. Later, the shim may be
a bit easier to chip off if I need to lower the bridge back to its original height.
Update: July 9, 2000:
I just found this little leaflet in a 1914 Gibson mandola case,
recommending veneer shims to raise action.
1
2
Back to Index Page