A Broken Banjo Peghead
© Frank Ford, 8/11/03; Photos by FF
This banjo fell forward as its stand collapsed and landed face downward on a carpeted floor. The mass of the tuners and peghead had quite a bit of inertia, and the peghead snapped clean off. Compare this break to a similar one on a guitar, "a simple peghead crack."

Unfortunately this time I didn't have the luxury of an intact peghead veneer to hold things in alignment. In fact, the angle of the break was such that any clamping pressure would have caused the joint to slip before the glue set up. Once again, I wanted to use traditional hide glue for strength, rigidity and heat resistance, so I'd have to work fast to clamp it before the glue started to gel. Time for some special clamping cauls!
I really like having acrylic scrap around the shop. It makes great see-through clamping cauls, and is relatively strong, rigid and easy to shape. Also, the smooth surface makes it easy to see if there's any leftover glue or contamination from a previous job. Here, I've made a complex caul that clips over the nut and has a clamping surface roughly parallel to the break in the neck:
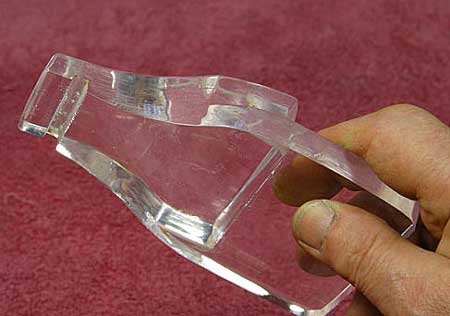
It took a while to make up this caul, but I suspect it will come in handy another time.
If you don't know and love "Friendly Plastic" (L.M.I.) maybe this will convince you to give it a try. I poured some of the pellets into a beaker of hot water:
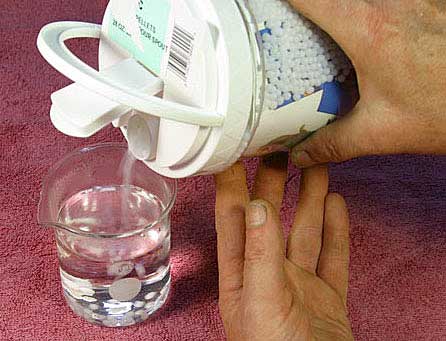
There they are, warming up:
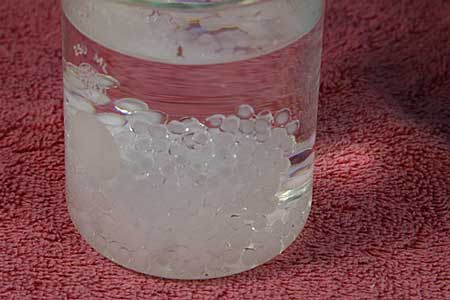
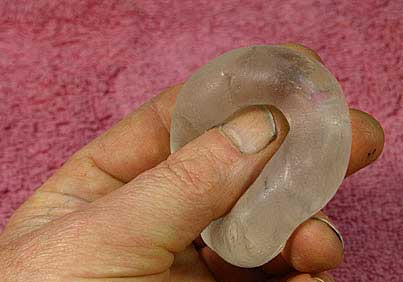
When the pellets reach about 150 degrees Fahrenheit, they turn clear, and it's time to take the mass out of the bath:
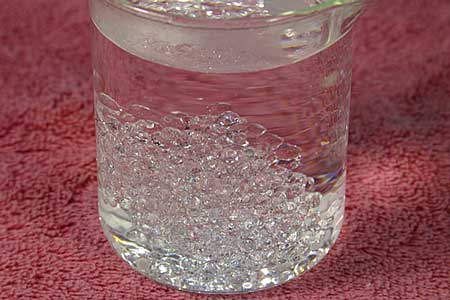
At that temperature, the plastic is perfectly soft and pliable:
Protecting the finish with a bit of plastic wrap, I backed the plastic with some scrap plywood and molded it to the curved back of the peghead, right over that complex little volute:
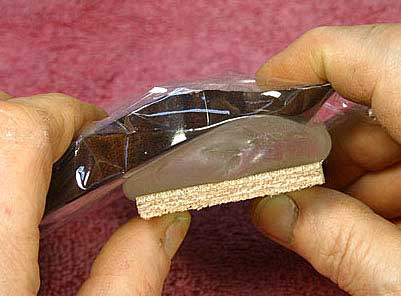
Holding it lightly in place until it turned white and hard, I was able to keep the plastic in good contact with the surface:
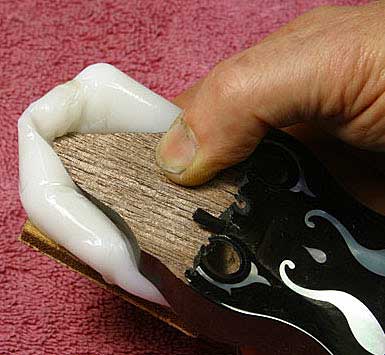
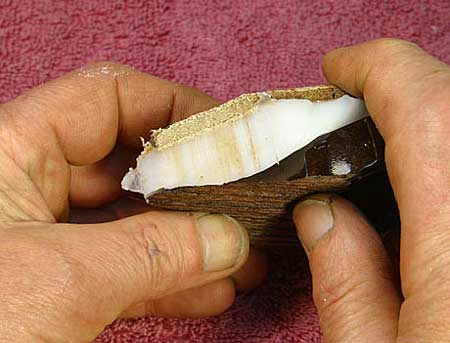
After trimming the excess so I could see the joint from the edge, I had a neat little caul that would distribute pressure evenly and not have a chance of slipping because it was molded right over the volute:
Here's the rig, all clamped up:
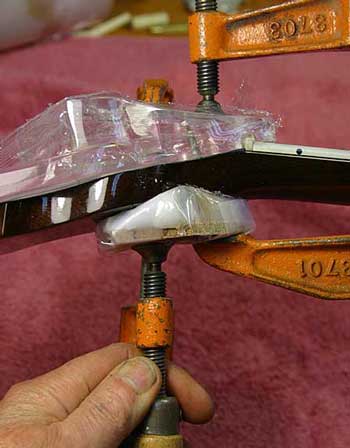
As you can see, the upper caul is parallel to the break, and the lower one is not quite. But, the swivel foot of the clamp took care of that small misalignment, and the whole thing went together nicely. After a "dry run" I slathered on some nice fresh hot hide glue, and was able to clamp the break in a matter of seconds, with plenty of time to spare before the glue reached the gel point. (More on hide glue here.)
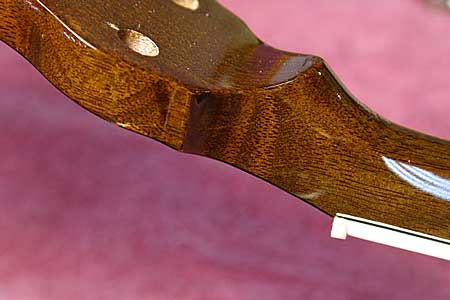
Even before finish touchup, you have to look closely to see that joint!
Click on these two small pictures for closeups of the finished product:

