Page 2 of 3
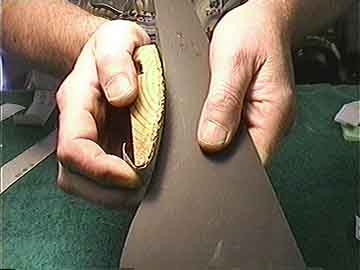
I'll true up the curves with a series of curved sanding blocks and some 100 grit
aluminum oxide paper:

I like to work from the backside, so I can see the edge clearly.
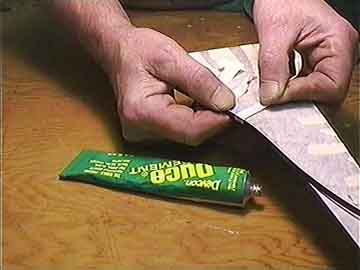
Binding goes on in layers, if possible, to avoid problems bending around the corners
and curves. I use Duco cement, and narrow masking tape to hold it in place:

I make sure to keep the top surface protected during all gluing because the glue
will really eat into the celluloid and I don't want it to show in the final product.
Here's
how I cut the binding to size.
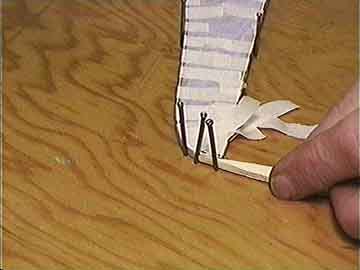
Especially at mitered corners, I may have a bit of trouble getting the tape to hold
the binding down, so I'll stake out the fingerrest with some finishing nails, and
use wedges to press trouble spots right into place:

It's a pain to get those mitered corners cut just right, but it really pays off in
the final product, so if I miss the cut, I strip off the binding and start over!
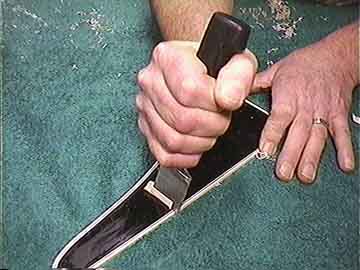
A few days later, at least, I'll scrape the binding flush with the surface:

Here my scraper is an old kitchen knife sharpened to a chisel type point. I can really
bear down and pull neat shavings off. I have the blade partially protected with tape
to reduce scratches on the surface of the fingerrest, but I'm really not too concerned,
because I'll sand and buff the entire piece anyway.
More
1
2
3
Back to Index Page