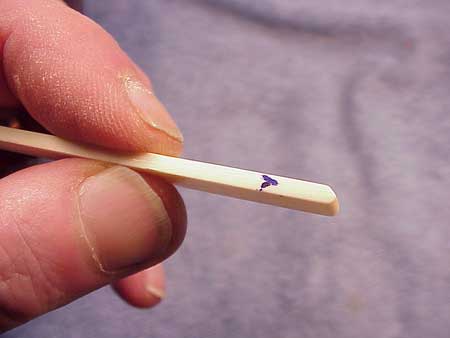
Now that it fits into the slot, I'll mark the treble end of the bottom, so I won't get the ends reversed as I proceed with the rest of the job:
With the saddle in position, I'll mark the approximate height I'd like:
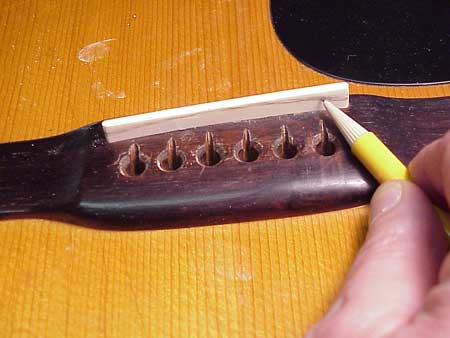
I could measure it. for example, if the action measured 1/32" too low at the 12th frets, I'd want my new saddle to be 1/16" higher than the original. I could hold the old and new saddles up together, and simply trace the curve of the top. Here, I'm marking it roughly, because this guitar has just had its neck reset, and the saddle needs to go up quite a bit. I'll make a high one, and then lower it to get the action I want.
I simply scrub the saddle lengthwise on the flat sandpaper until I hit my pencil line:
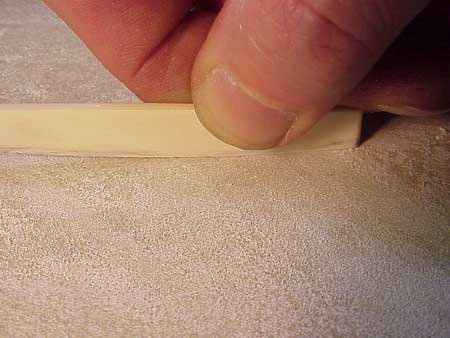
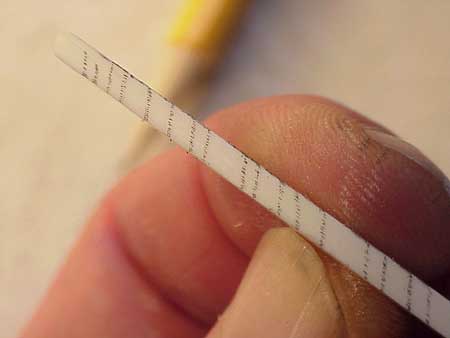
The top of the saddle needs to be rounded where the strings contact it, so I'll strike some "witness marks" with a pencil, so I can judge my progress in shaping it:
Here's the best little trick. I hold the saddle at about a 45 degree angle as I sand two little facets along the top edge:
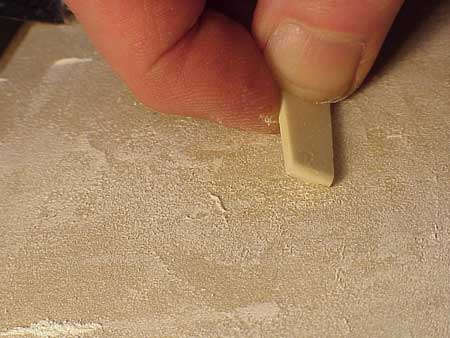
Here it is:
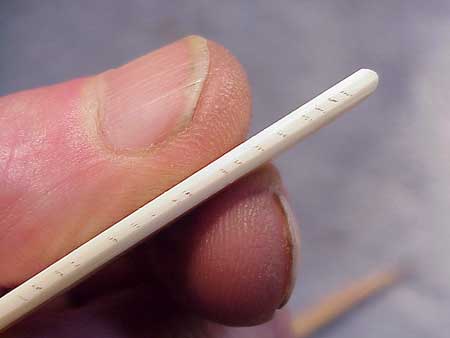
Two 45 degree facets, with an equal width of flat space still remaining along the center of the top edge.
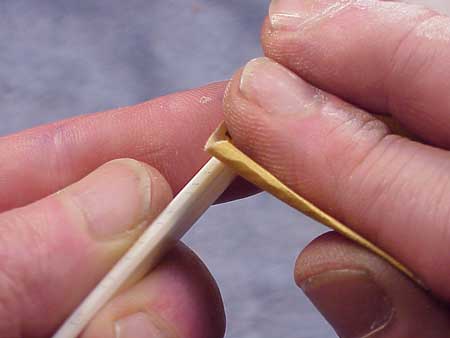
Simply sanding with some flexible 220 grit sandpaper, backed only with my fingers, gives me a nice rounded top:
I can judge the top of the saddle most easily if I hold it up to the bottom edge of a thin steel rule:
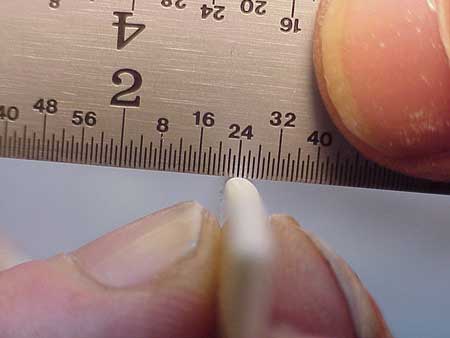
The shadow underneath reveals the top contour of the saddle very nicely.
Well, my new saddle is done. If I want a really sharp appearance, I could buff it to a high shine, although the 220 grit sandpaper gives a nice semigloss hand rubbed look.
With my new saddle in place it's easy for me to measure the action in the usual way at the 12th fret, to judge how much I need to remove from the bottom of the saddle to get the action I want. I can also reshape the top to lower some strings selectively:
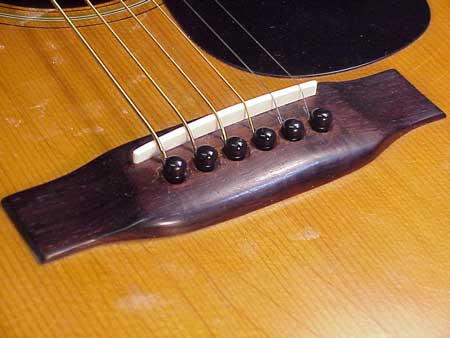
In other words, from here, its all just a setup!