Working with
Wooden Ukulele Pegs
© Frank Ford, 2006; Photos by FF
Violins and a number of other traditional (usually gut or nylon strung) low
tension stringed instruments still come fitted with tapered wooden "friction"
pegs. Violins, in particular, have finely crafted pegs made from high grade
ebony, which mate up with precisely tapered holes in a hard maple peghead. There
are even matched sets of tapered peg shapers and peghead reamers used by violin
makers and repairers to make certain that all parts fit perfectly:
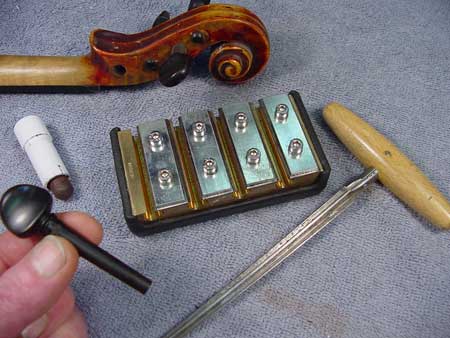
As you tune up, you press the peg inward, making the taper fit tighter so the
peg holds the string at pitch. To make the peg work smoothly, there's even a
special lubricant (the thing that looks like a lipstick) to apply to the friction
surfaces.
Wooden ukulele pegs are usually much more primitive, being rather
roughly made of a "generic" hardwood, and fitted into a thin headstock
of relatively soft koa or mahogany:

As you press these pegs in to tighten them when you tune, you're
more likely to have them feel slippery, tight, or uneven. And, as you press,
you're more likely to deform the peg and/or peghead.
Here's a simple ukulele peg. Just above my index finger you
can see a shiny band where the peg bears against the tapered hole in the peghead:

Look at the peg closely and you can see how roughly finished
it is.
To make this peg grip better and work a bit more smoothly, I'll
try to clean up its bearing surfaces and the mating surfaces in the peghead.
This is some 400 grit waterproof sanding paper, and I'm just curling it in my
fingers:
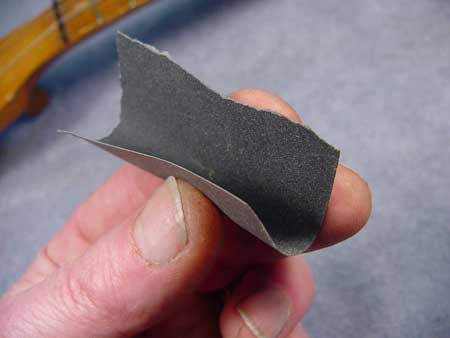
A few longitudinal strokes will break that glaze on the peg,
and even out the taper a bit. I turn the peg as I go, trying to sand as evenly
as I can:
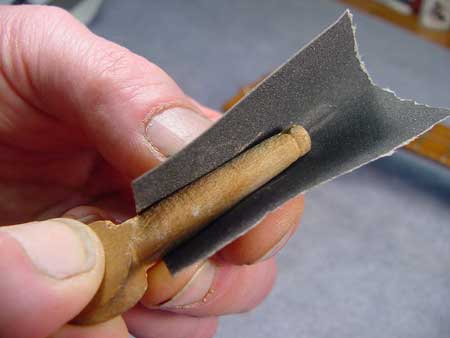
If the peg had been deeply worn, I might have laid the sandpaper
flat on a table or board so I could sand the peg straighter from end to end.
Then, I'd finish by sanding with the paper curled as above.
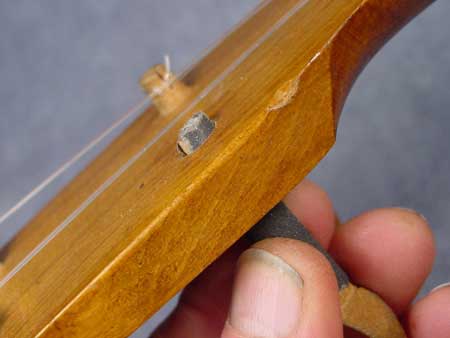
Next, I'll take a bit of the same sanding sheet and wrap it
around the peg, gritty side out:
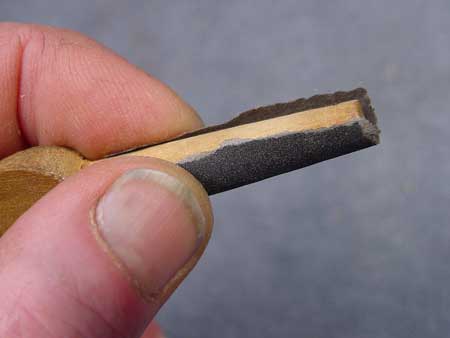
I don't want the paper to overlap.
Now I can insert the peg in its hole, and twist around lightly,
sanding and cleaning up the matching taper:
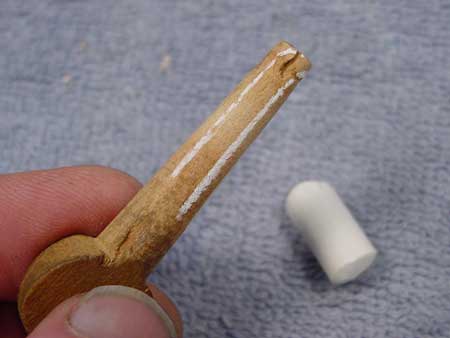
Now, a few strokes with regular blackboard chalk, and I'll have
a peg that's more likely to grip:
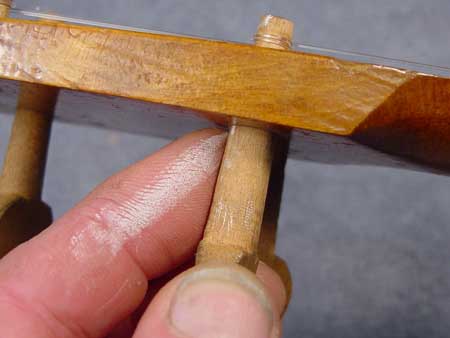
As I tune up, I try to press the peg tighter, but only as much
as is necessary so I don't create premature wear on my newly cleaned friction
surfaces:
Back to Index
Page


