Lightweight friction
Tripod Ball Head
© Frank Ford, 2006;
Photos by FF
I take lots of photos in my shop, about thirty shots a day on average, so convenience is really what it's about for me. Lately, I've thought I wanted a simple ball head for my tripod - one on which I could set the friction so I'd be able to position the camera with one hand, while holding a photo subject with the other. I spent some time interviewing high-end ball heads at the local pro photo store, and found one that really worked well. Unfortunately it was priced at $450.00.
So, I settled on plan B - making one for myself. Like so many other things I make, I didn't really plan this project out to the last detail, instead letting it evolve a bit as I went.
My first step was a visit to TAP Plastics, where I picked up
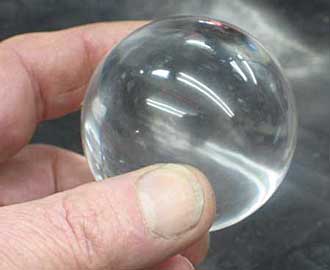
this nice two inch diameter acrylic sphere:

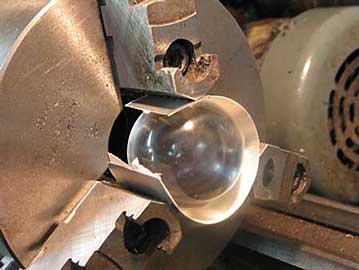
I lined a piece of .005 aluminum shim stock with a layer of masking tape so
I could chuck the ball in the lathe:

Like so:
I plunged a 5/8" end mill in about 3/4" and followed with a 1/4" through
hole, which I countersunk from the other side:
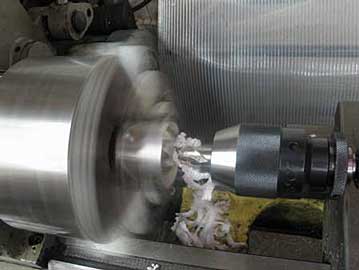
That pretty much finished up the ball.
I wanted to keep the weight down because I'd be using this rig often on a very light tripod I keep in the shop, so I made the base of acrylic. With a square piece held in the four jaw chuck, I used my small radius cutting tool to hollow out one side:
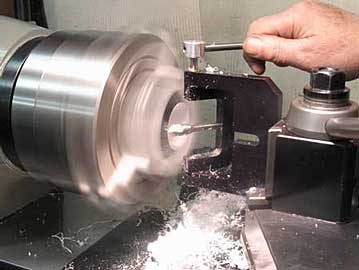
The bit that came with this little radius tool was way to short for the job, so I looked around the shop and found this nice little one lip countersink and used it as a tool:
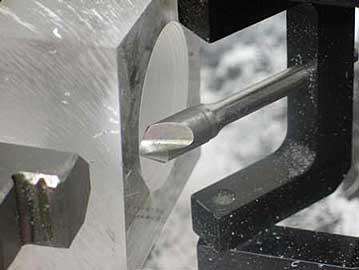
Figuring I'd want to mount the base at a 45 degree angle, I milled one end off a bit:
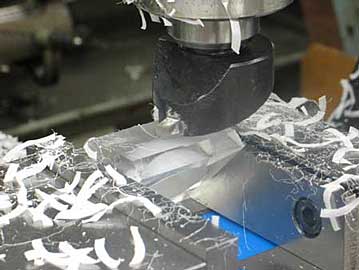
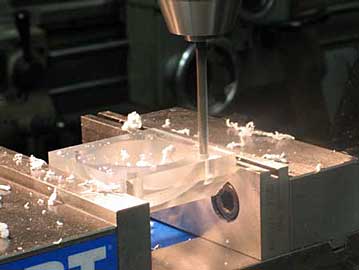
Centering the hollow spot with my DRO, I plotted out a four bolt circle that would just clear my 2" ball, and drilled and tapped four holes to accept 1/4-20 cap screws:
I made a mating piece as a hold-down from 1/4" thick aluminum and drilled a matching pattern of 1/4" holes for the bolts.
I decided to back up that plate with a piece of 3/4" plywood so I could handle it better in the four jaw chuck, and I drilled one more matching pattern of 1/4" holes:

I counterbored one side to 3/8" with my regular cap screw counterbore, and stuck a bolt through, threaded on a nut, and whacked it with a hammer to seat it below the surface:
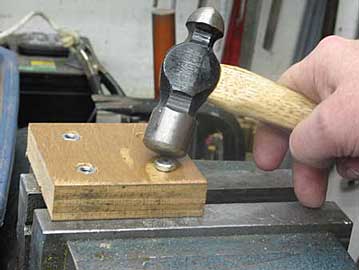
By having a bolt through the hole I'd be certain to get each nut aligned as it mashed into the wood - sort of like a poor man's t-nut. Then I screwed the aluminum plate on the front, chucked and centered it in the four jaw, set my cross feed to an arbitrary angle, link linked here and bored it out, trial fitting the ball as I went along:
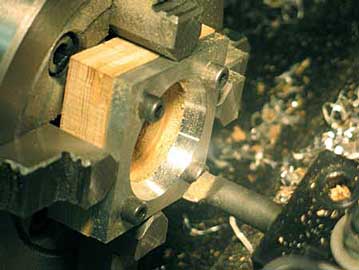
This part I left as a conical shape, figuring that with the small surface area, I'd be close enough.
I made both the concave base and conical hole a bit oversize, because I'd be lining them with felt to provide a soft sliding friction surface that wouldn't mar the acrylic ball.
I just glued the base with its 45 degree surface on a piece of acrylic scrap:

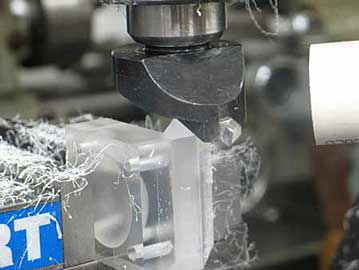
And, trimmed it with a fly cutter:
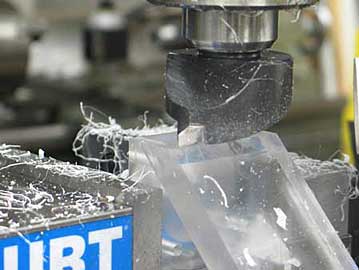
I didn't measure or calculate anything, I just flush cut to the surfaces of my little base:
I turned a brass stem to fit the hole in the ball, and gave it a small neck so it could swivel as far as possible against the aluminum top collar:
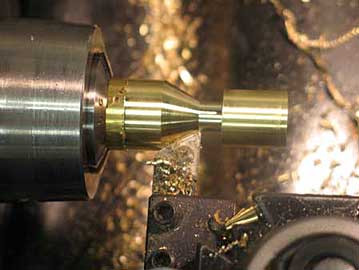
This little piece got threaded 1/4-20 from both ends.
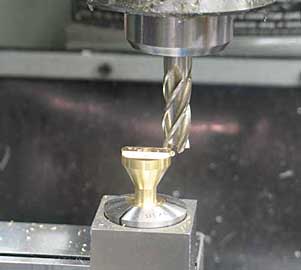
I held the stem in a little collet block and milled a little tenon to plug into my camera's quick release mount:
And, that was about it. Here's a view of all the parts laid out:
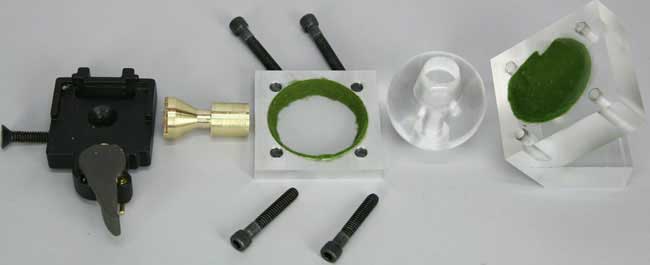
The big black thing on the left is my old tripod quick release mount. (Oops, as I look at this photo, I realize I forgot to include one more 1/4-20 cap screw that holds the brass stem down into the ball.) Both the base and collar are lined with felt - I used double sticky tape on the aluminum and a thin wipe of superglue on the acrylic.
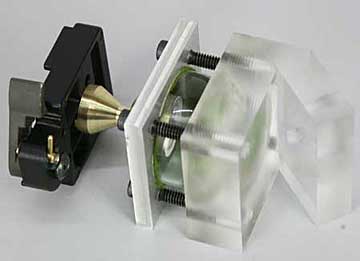
Here it is assembled:
And, in action:
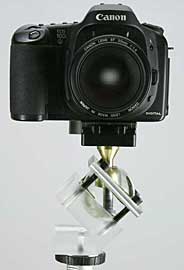
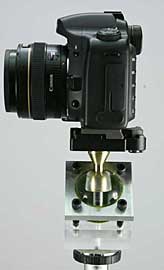
I can adjust the friction to make it just rigid enough to hold my SLR, and it wll maintain position reasonably well, even cantilevered out like this:

But if I tighten it enough to handle the weight of my favorite lens, the 28-135 zoom, I lose the one-handed feature for practical purposes
Most of the time, though, I'll be using this ball head with the very light little Canon G6 and lightweight tripod I use in my shop for most of the machining photos:
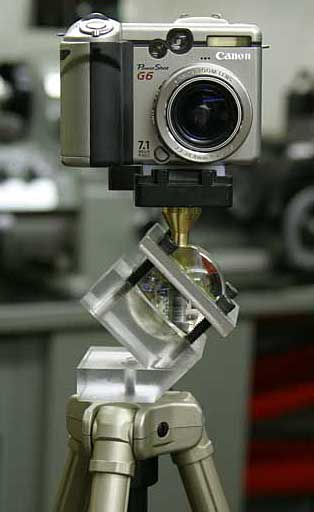
Space is tight in my little shop, so I'm constantly squishing the tripod legs together and stashing it in a corner somewhere. And, I really don't like flash, so I need the stability of the tripod to take available light photos.