A Special Fly Cutter
©
Frank Ford 2008; Photos by FF
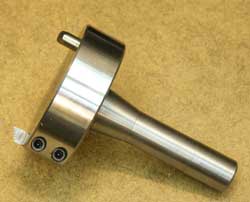
This is a project that features one of the R8 arbors I'd made earlier. I wanted to make a fly cutter that would be particularly useful for surfacing wood and plastic - one that would have both a roughing bit and a finishing bit working together.
 |
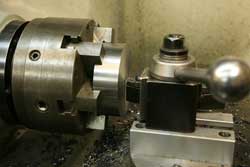
Starting with a slice of 3.75" diameter cold rolled steel (the biggest diameter piece I had at the time) I faced both sides. |
 |
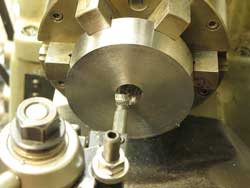
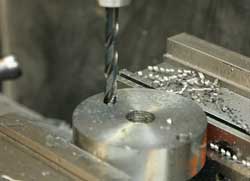
Then, I drilled and bored to tap it 7/8 - 14. |
 |
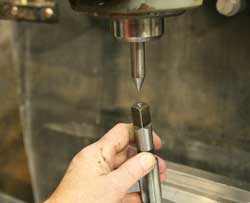
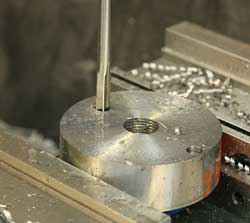
Given the choice I'll generally avoid single point cutting internal threads on the lathe, so I figured I do this job by hand on the milling machine. I have a piece of 1/2" rod with sixty degree point on it that I use for rough centering and other alignment jobs. Here, I'm setting up to use it to align the tap. |
 |
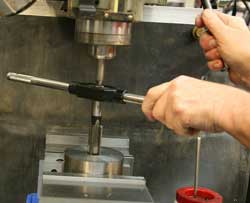
By feeding the quill downward a little with one hand, I can turn the tap wrench with the other, assuring a nice straight threaded hole. |
 |
Since I had the piece centered under the quill, I unlocked the X-axis and moved the table to the right and left to drill 3/8" holes for my cutting bits. One hole is inboard by 3/8" so it can hold a finishing cutter to take a light pass, once the roughing one cuts the depth. |
 |
I used a 0.376" reamer to make a nice sliding fit for my 3/8" bits. |
 |
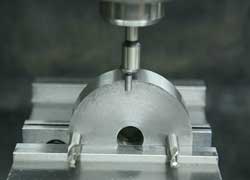
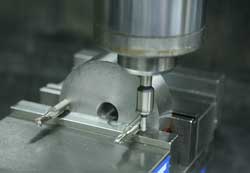
In order to align my set screws, I clamped the disc in the milling vise, using a pair of 3/8" end mills to achieve the 90-degree angle I wanted. I used a center finder to locate center on the thickness of the disc. |
 |
And, I used the same center finder to locate center on one of the bits. |
 |
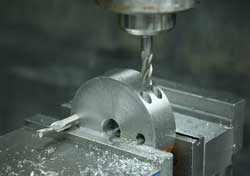
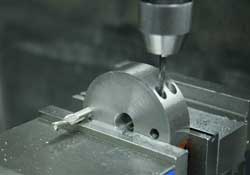
I plunged with a 3/8" end mill to countersink two 1/4 - 28 cap screws. |
 |
Once the countersink was established I had a nice flat place to start my tap drill. |
 |
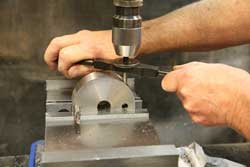
And, once again I tapped by hand right in the milling setup. Here, I'm using a tap handle that has a built-in center that's held by the drill chuck. |
 |
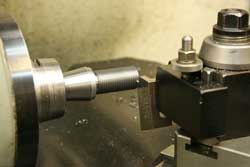
Back on the lathe, I mounted the blank arbor in a collet and threaded the end (7/8 - 14). |
 |
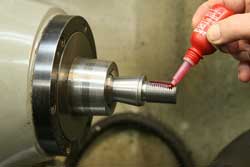
A dose of red Loctite. |
 |
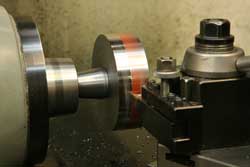
And, a last skim cut to true up the disc. |
 |
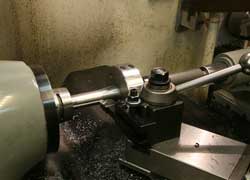
After center drilling the shaft, I slid it out of the collet, gripping only by the last half inch. Then, I was able to turn down the length of the shaft for clearance in the milling machine spindle, leaving the back end full diameter to maintain concentric aligment when it was pulled in by the mill draw bar. |
 |
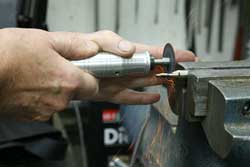
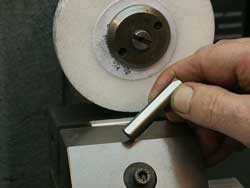
Stock for the cutting bits consisted of a couple of dull high speed steel end mills. I used a small carbide wheel to cut the bit to length. |
 |
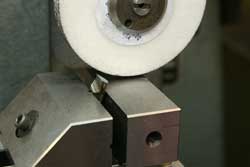
I used my little surface grinder to make a full length flat to engage the set screws and allow me to regulate the amount of the bit that protrudes from the disc. |
 |
I ground the ends of the bits first on the surface grinder, then offhand with the little carbide cutoff wheel and a bench grinder. |
 |
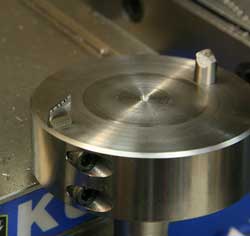
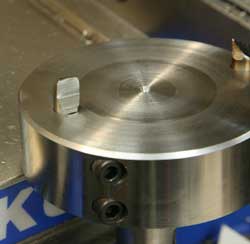
Here on the left, you can see my roughing cutter. I notched it, figuring that it might cut a bit more agressively, particularly if I were to run it deep in wood or plastic. |
 |
Inboard a bit, there's the rounded finishing cutter. |
 |
The finished tool. |
 |
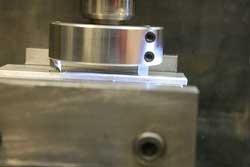
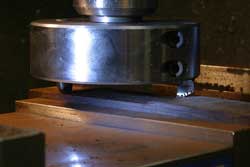
To set the depth, I simply bring the tool down to a flat surface so the fine bit touches. Under the other the roughing bit, I use a piece of 0.005" brass shim. That way the fine bit cuts only that depth after the outboard rouging bit takes the surface down recommended reading. |
 |
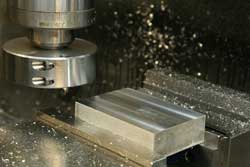
A test cut on a piece of 6061 aluminum looked pretty good. |
 |
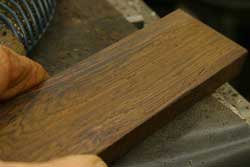
Here's the cutter taking a solid 1/8" off a piece of Brazilian rosewood to prepare it to become a guitar bridge. |
 |
Check that surface. It's deadly smooth! |