Please click the pics for the big shots
Easy peasy, lemon squeezy
- how I use the
OMW Radius Turning Tool
© Frank Ford, 2010; Photos by FF
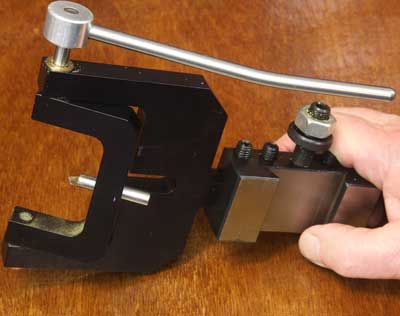
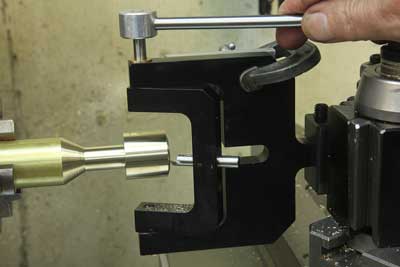
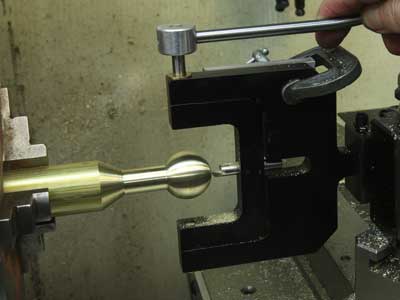
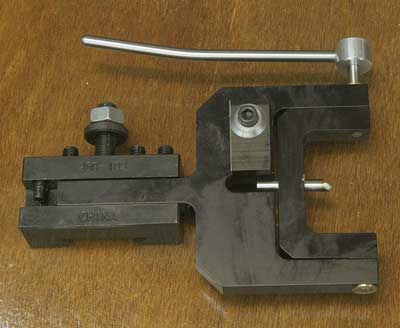
Here's the larger of the two radius turning
tools made by OMW and sold by Little
Machine Shop -
I keep mounted in a quick change holder for easy use on my lathe:
It's a fairly conventional rig, and it comes
with a very nice set of instructions, which, for some reason I either didn't
receive, or, more likely lost. In working with this tool, it turns out that I
came up with a somewhat different method of setup and use, so I thought I'd
present it here. If you'd like to see the real instructions, they are here:
In this example, I wanted to turn a one-inch
diameter ball on the end of a 1/2" diameter shank, starting with this
piece of 1" brass stock:
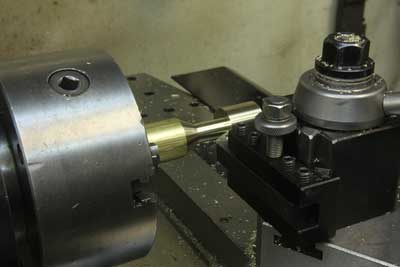
First I faced off the end, and made a very
light "skim" cut to clean up the length:
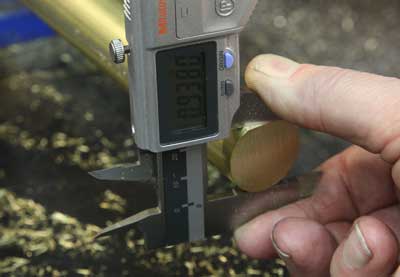
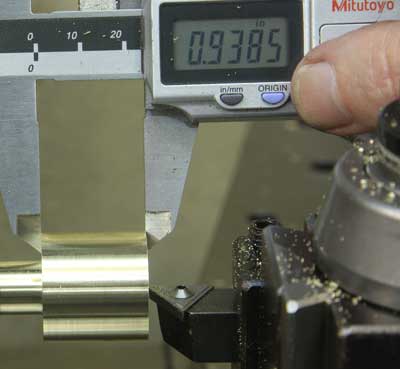
Now, you can believe it or not, but check
out this amazing micrometer reading:
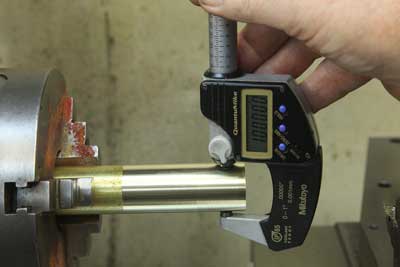
Never works this way when I'm trying to hit an exact diameter!
I turned down the shank of the brass to
1/2," leaving about 1" of full diameter of the length at the end from
which I'd be turning my ball:
That ball wouldn't be a full sphere, because
it would still be stuck on the end of the 1/2" rod. In order to make the
"ball blank" section exactly the right length, I could do some math
and figure out the length I'd need, but instead I used a direct measurement
method because it's quick and easy to do.
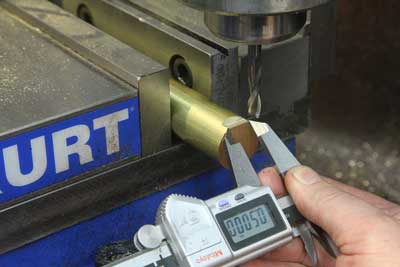
I simply milled off a small flat on the end
of a similar 1" diameter brass rod:
And I measured the diameter, minus the bit
I'd milled off:
Then, returing to the lathe, I made repeated
facing cuts until I got the length just right:
I find it easier to make the length accurate by facing this way rather than
by cutting the 1/2" diameter section.
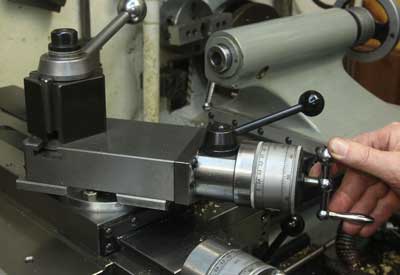
My default setting for the compound is for
threading so I left it in that position. Since I would not be using the
compound for ball turning, I cranked it inward as far as it would go, basically
locking it:
Then it was time to set up the radius tool.
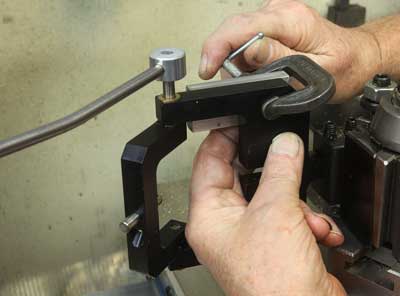
With the axis of the tool oriented along the turning axis of the lathe, I wanted
to make certain that I'd never accidentally swing the tool past center,
potentially scarring my work. I use a very simple stop device - a simple
aluminum block clamped to the tool frame:
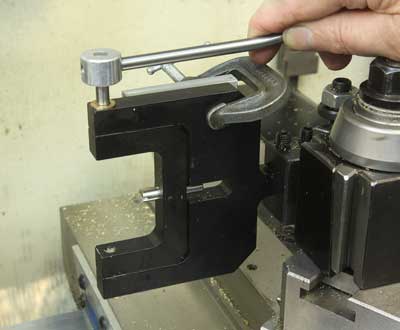
Then, as I swing the tool, it can only go
over the end of the work to exact center - not any farther:
Next it was time to set the cutter on
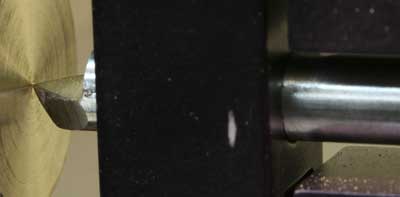
center. With the moveable section in the "locked" position, I lined
the point of the turning tool to exact center of the faced end of the stock.
Here's a closeup:
Notice that the tool is retracted in the
holder.
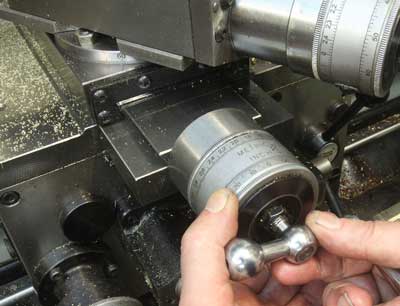
I set the X-axis dial to zero on the cross
slide crank, so I'd have a visual aid to see my progress as I ran the tool into
the work:
I wouldn't really need to see the reading,
but I figured it was an easy thing to do. As I form the ball shape, I'd be
easily able to see when the ball was finished.
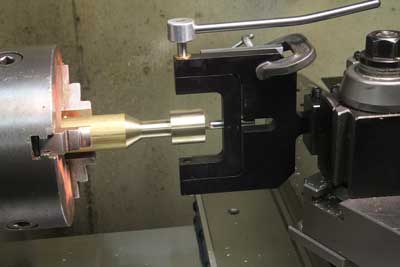
Without moving the cross slide, I swung the
moveable section over to exactly ninety degrees:
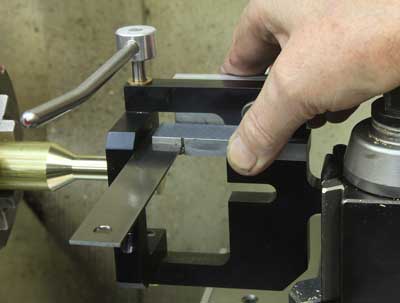
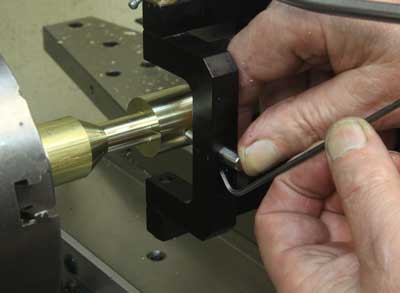
And, I loosened the set screw, shoved the
tool bit in to touch the work, and tightened up:
The last bit of setup was to move the
carriage until the point of the tool returned to exact center:
At that point I locked the carriage, and
backed off the cross slide so the tool bit cleared the work all around. With
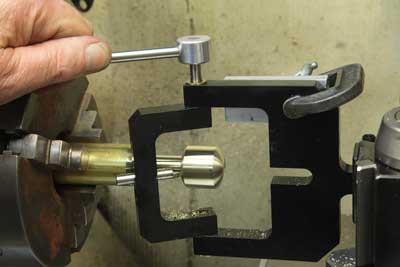
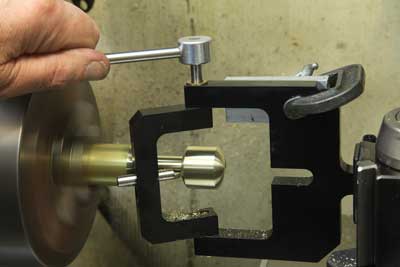
the lathe speed at about 2000 RPM, I gradually fed the tool into the work,
swinging the handle to form the ball shape:
Because 360 brass is so friendly, I usually
don't make any roughing cuts before starting to turn the radius. If I'd been
working with stainless, I'd take it VERY slow and easy, and start by roughing
it as much as I could before bringing out the radius cutter.
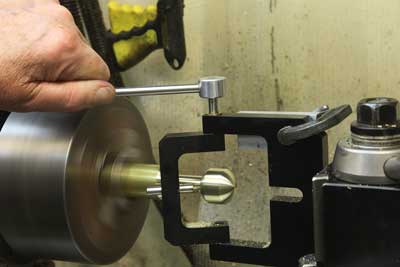
Cutting progressed smoothly, and while it
looks like my hand is dangerously near the rotatig chuck, rest assured I have
plenty of clearance. Photos often flatten depth of field:
All done:
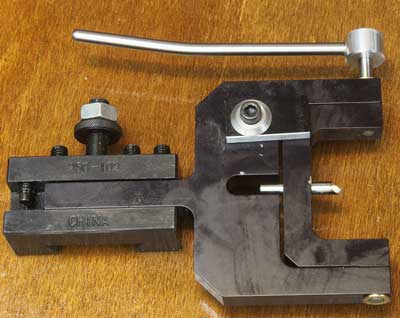
Update: After writing this up, I decided to make a small modification to the radius cutting tool - I screwed a little stop onto the back side so I wouldn't have to fumble with a clamp next time. I just happened to have a small piece of black anodized 3/16" thick aluminum, so it even looks a bit like it belongs there:
