Before I start to readjust the neck angle I'll set up the new neck mounting system. Bob Taylor taught us all the efficiency and stability of the bolted neck joint, and that's what I'll use here.
First, I have to drill the holes for the neck bolts:
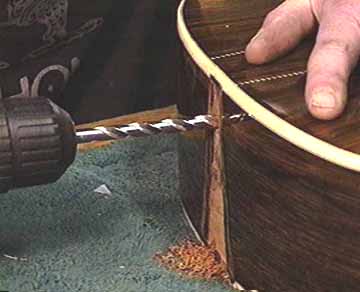
My bolts are 1/4" diameter, so I'll use a 9/32" drill so they will fit neatly and allow just a teeny bit of readjustment side-to-side if I need it.
I could leave the inside of the neck block untreated with bolts sticking out, and it would be stable and strong. I'd rather leave the inside looking as though it were intended to be a bolt-on neck, so I'll countersink the bolt heads on the inside of the neck block.
I have a special drill bit that I turned on my lathe with a 9/32" shank and 3/4" cutting diameter. Its cutting edges are like those of a Forstner bit. The difference is that this drill cuts backward. I filed the cutting edges on the surface that faces the shank of the drill, then heat treated and tempered it so I'd have a durable reusable tool:

I can now feed this drill bit through my new holes in the neck block from the inside and chuck it in the reliable old Makita.

All I have to do is pull the bit toward the outside, and it countersinks my holes perfectly. Take a look through the INSIGHT camera:
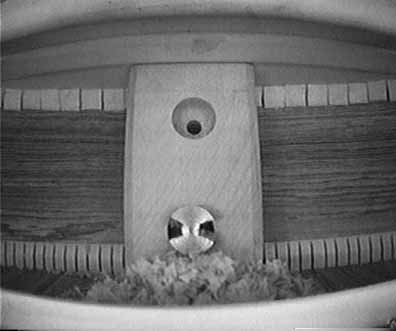
This system works very easily and quickly to make countersunk holes that look as though they were done at the factory before the guitar was built.
More