Page 2 of 2
If I wanted to lower the action differentially, or if my saddle were notched or otherwise
damaged on top, I'd lower it from the top. I could use the same marking technique,
or I could plot a new curve "by eye" to approximately the dimensions I
think might work best:
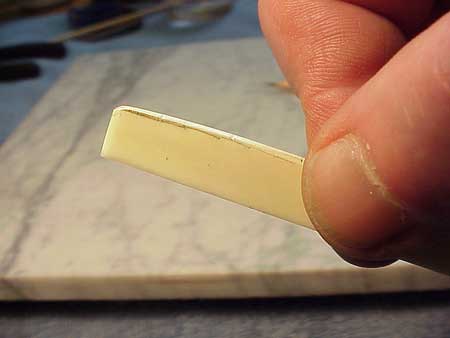
Then I'd sand the top of the saddle to the line:
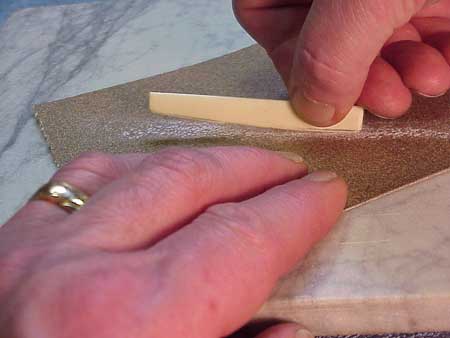
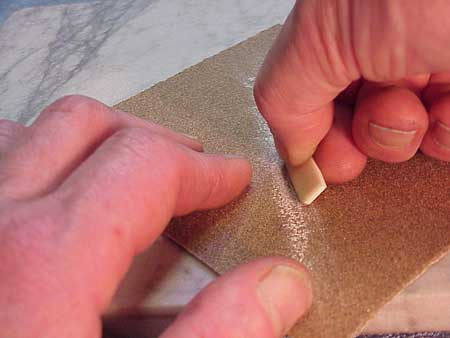
And recreate the radius or rounded top edge by rocking the saddle from side to side
as I sand:
I'd finish up with some 320 grit sandpaper to further round and smooth the top edge
to get a good bearing surface for the strings:
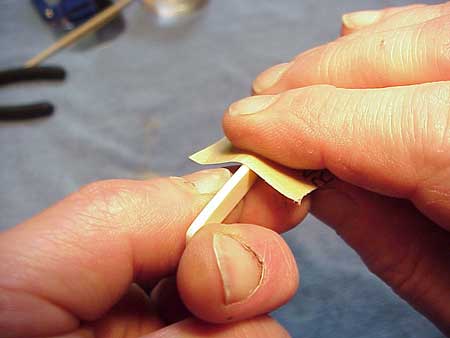
If I hold the saddle up to a straightedge, I can see my progress in rounding over
the top:
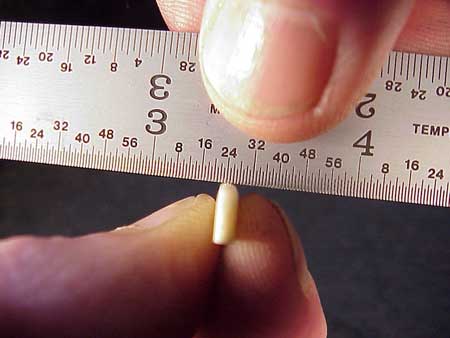
If I go too far in lowering my saddle, I can shim it back up with little slips of
wood veneer. But, I'd much rather make a new saddle rather than shim the old one
both for tonal and structural reasons.
Some guitars present special difficulties. An older Martin may have a "through-cut"
saddle which is glued in place. It's no mean trick to remove one of these saddles,
which are often destroyed in the process. Likewise, it's a pain to make a new one,
and messy to shim an old one.
Here, I'll work on the saddle without removing it:
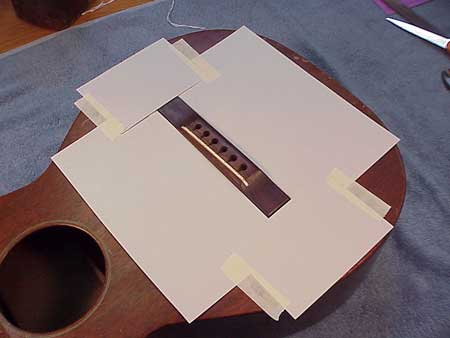
I have the top of the guitar protected with some heavy card stock paper taped lightly
in place.
I'm using a double cut file to grind the top of the saddle lower, leaving it flat
on top:
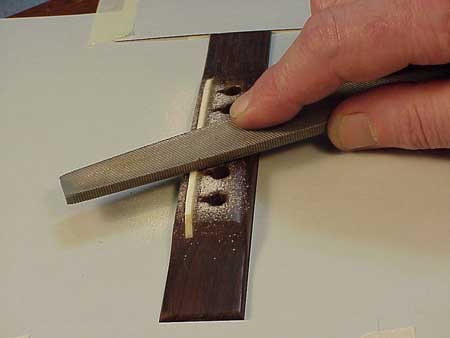
This is a fret file:

I find it the ideal tool for rounding over saddles.
I can works safely on the bridge, and I can produce an ideal radius on the saddle:
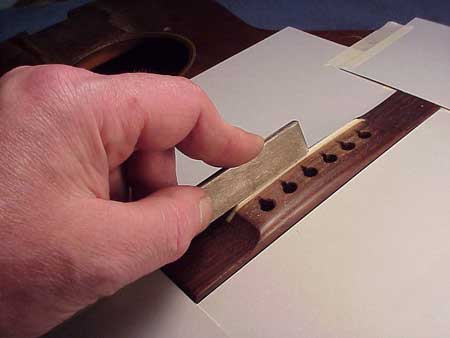
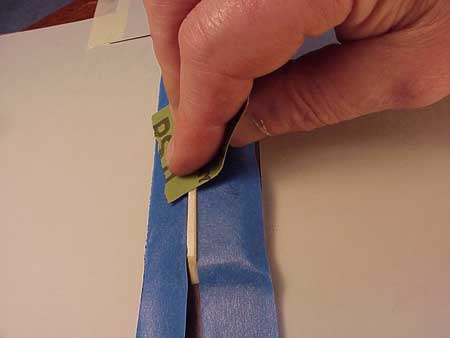
Then, protecting the bridge with some masking tape, I can smooth the saddle with
some 320 grit sandpaper:
I don't know any guitar mechanics who like working with glued-in saddles. There's
always the risk that you'll need to raise the saddle later, and that's a lot
of work, what with getting the old one out safely, making and gluing in the new one.
1
2
Back to Index Page


