Steel String Guitar
© Frank Ford, 3/1/98; Photos by FF, 2/27/98
Take the strings off, wipe the fingerboard clean with a clean terrycloth rag, and get ready to restring. If you have trouble getting the bridge pins out, here are a couple of hints.
OK, let's get to work!
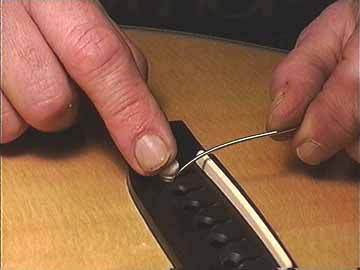
First, it's a good idea to make a little bend in the ball end of the string:

The slight bend will make it easier for the bridge pin to push the string aside as you insert the string and pin into the bridge. First, stick the string into the hole, and follow with the bridge pin, orienting the notch in the pin forward, toward the neck:

Once you have the pin pushed in place, pull up on the string until you feel the ball catch and seat itself under the bridge. Press down on the pin just enough to keep it from slipping out as you draw the ball upward to its resting place:
The bridge pin's only job is to push the string ball aside so that it can grip the underside of the guitar top. The guitar top is reinforced in this area by the bridge plate, a thin hardwood strip. Here's a view of how it looks inside:
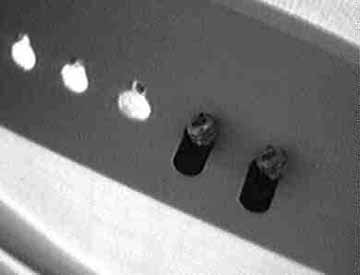
I took this picture with the INSIGHT video camera.