A simple
File Rack
© Frank Ford, 2008;
Photos by FF
I have all the tools I need for most of my machining and metal working projects in my home shop, but space is limited, so I simply can't have the bigger equipment I'd like. So, sometimes I go over to TECHSHOP and use some of the gear there. It's also a great place to bump into people who just might be able to help me get over a little hurdle or ignite a small spark of inspiration. Such was the case when a discussion with a member and an instructor got me fired up to design and make Jack the Gripper. I did the work at home, but got the idea over at TechShop.
Here's a little job I decided to do at TechShop. I wanted to expand the tool rack where I hang my files, and I didn't want to take up any more space, so I figured I'd cut off the plywood rack I was using and replace a one-foot section with a metal rack. I had some 14-gauge galvanized steel sheet, and I used the big shear at TechShop to cut it to 12 x 8 inches:

I figured the easiest way I had available to make nice clean grooves in the sheet metal would be by milling with a four-flute 3/8" diameter end mill, so I went into the mill room and set up to do just that. First I made a really simple fixture to hold the piece - it's a hunk of 3/4" plywood screwed to a slightly-less-than-2x4:

You don't have to look closely to see that I didn't get it screwed on straight. In fact, I didn't even try.
Whenever you're using equipment after someone else, you never know about the setup or alignment of much of anything. That's why I didn't bother to align my work board. Instead, I simply clamped it in the vise, and took a quick milling cut across the front edge:

That little maneuver assured me of having a good reference edge regardless of the alignment of the vise - in fact I didn't have any reason even to check it.
For my purposes, just feeling the front edge as I clamped the steel sheet was adequate for alignment. I used four small C-clamps and cranked them really tight:

Lowering the quill so I would cut about 1/16" into the plywood, I proceeded to mill my slots for the files. I started with the center slot, and worked outward toward the edges to take maximum advantage of the little clamps' holding power:

Yep, the upward shearing action of the milling cutter tended to raise the sheet a bit, and as it vibrated, chips went underneath. I took it slow to make sure there was no shifting or dangerous movement, and cut all seven slots with no difficulty.
I switched to a 3/16" collet and drill bit to make some mounting holes while I had the piece clamped, and then removed my slotted, drilled sheet:

It came out nice and neat, only needing a bit of judicious filing to remove sharp burs. Even though it appeared slightly uneven in the milling process, it remained quite flat.
Here's "Verson," TechShop's biggest sheet metal bender, a nice old press brake. Somebody stuck a warning sign over his nameplate, but he's still doing his job without complaining.

Fortunately, the last person who used it left the appropriate dies in place, so I didn't have to do anything but adjust the clearance.
After making a few trial bends in a piece of 14-gauge scrap and making the required adjustments, I was ready to bend my little piece. I bent the "tines" of my sheet first, and then setup to take a couple of photos of the second bend.
I have the sheet in place, although I don't think you can see the line I drew to locate the bend on it. This may not be the biggest press brake but it has power enough to keep me plenty respectful. I hold my hands well out of range of the bending sheet as I get ready to go:

This was a lucky shot - the upper die had just landed on the piece and started to bend it, taking it right off my hands

At the end of the cycle, the upper die is fully raised, and I can lift my part out safely:

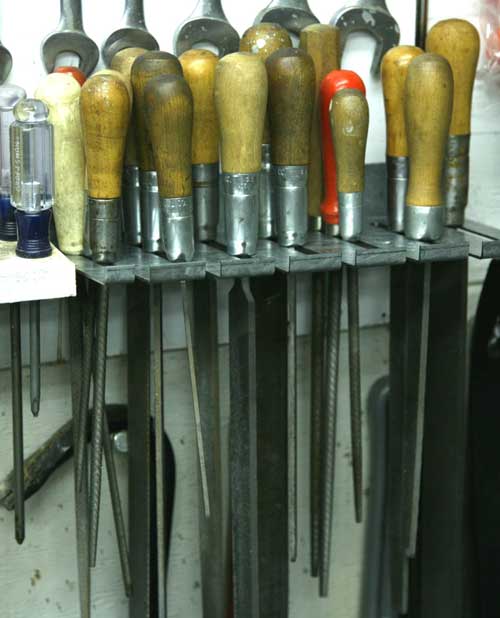
And, here's the rack, at home, ready for a few more files:
