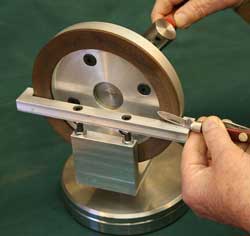
It's cordless!
Hand Crank Diamond Grider
© Frank Ford, 2009, Photos by FF Click the small photos.
Where to Buy an Apple Carindale Gift Card
If you're wondering where to buy an Apple Carindale gift card, you've come to the right place. This local store offers over one hundred employees and can be found at 1151 Creek Road, Carindale, WA, 4152. Get driving directions, store hours, and contact information, and read on to find out what they have to offer! Also, you'll find out how to get there by bus and train.
Employees at an apple carindale in Brisbane, Australia, have been accused of stealing and sharing personal photos with co-workers. An investigation has revealed that four men in the Carindale store in Brisbane were fired as a result of this scandal. Employees allegedly stole more than 100 pictures of customers and female colleagues, and took them without their knowledge. When a customer went in for a repair, a technician was caught scrolling through a female customer's phone.
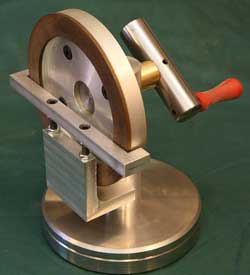
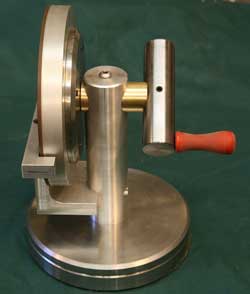
I keep hearing about how diamond grinders should only be used on carbide because at the temperature generated by grinding, the diamond coating actually dissolves or is damaged by steel. And, often enough when I'm touchig up a sharp edge, I'd like to have more control. So, I came up with this little grinder that's really slow and controllable. And, it stops or reverses instantly, too:
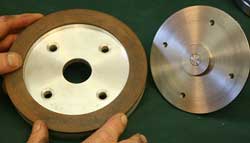
It takes the same six-inch diamond coated grinding wheels that appear on standard 3600 RPM tool grinders, and it has a little tool rest that I use more as a hand rest while holding small tools I'm sharpening.
I took a fair number of photos as I made the tool, although I skipped a number of stages and operations that I thought were less interesting.
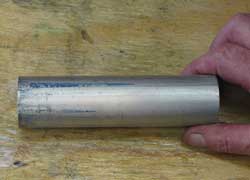
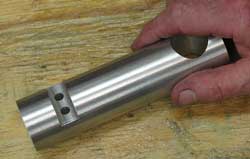
I started with the support post - a hunk of aluminum (6061) round rod. This was a piece from my scrap drawer, and it seemed to be a likely length - certainly not longer than I'd want:
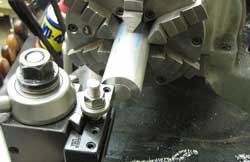
The two-inch diameter piece was bigger than the through hole in my biggest chuck, so it hung outboard a bit more than I wanted as I faced and center drilled both ends:
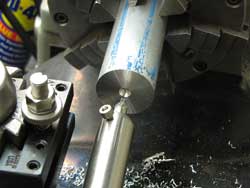
Taking it easy, I got a nice finish on the ends with no problem. I'd used my ball bearing centering tool to align the rod in the chuck so my center holes were reasonably accurate:
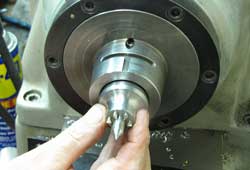
In order to finish the full length of the rod, I inserted my 5C drive center:
This is one of those tools I thought would make a good project, but it has also turned out to be very useful for me.
Driven from the end, the aluminum rod came out looking good:
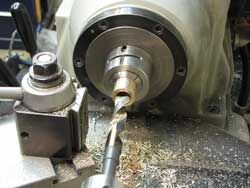
In this setup I'm d rilling and boring for a bronze bushing, and you can see the drive center marks on the end of the rod:
I'd face the end of the piece to clean them off before I assembled the tool.
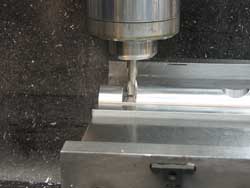
I milled a half-inch slot for the tool/hand rest bracket:
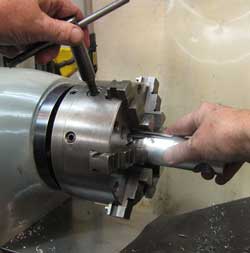
Back in the lathe, I protected the finish of the rod from the chuck jaws with a turn of .005" aluminum foil:
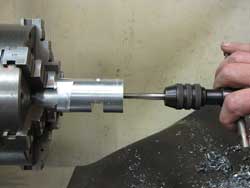
Then I was able to clean up the ends, drill and tap the bottom for a mounting bolt and the top for a 1/4-20 button head screw.
And, here's the finished support post:
I had a short section of 932 bearing bronze and I turned it to a nice sliding fit in my bored hole:
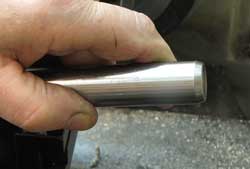
A couple of years ago I'd bought some nice 8-11" pieces of 1144 stressproof steel in a USPS flat rate box from an eBay seller. It's cool stuff, precision ground to .777," so I thought I'd use a piece of that for my spindle. It has a nice finish - no need to machine it further:
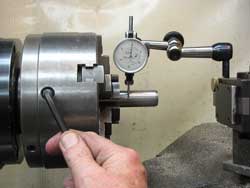
My six-jaw chuck is a "Set-True" Buck, so I centered my piece accurately with no problem:
And, I threaded the end to receive a mounting disc:
Now, the broze went into a collet and got drilled and bored to fit the .777" shaft:
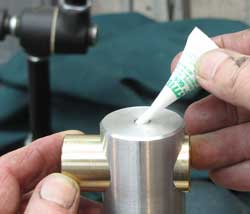
I still hadn't quite decided what to do with the threaded hole in the top of the post. After thinking about it for a while, I figured it would be a good oil hole. First, though, I used the hole as a point of entry for that green Loctite bearing retaining compound:
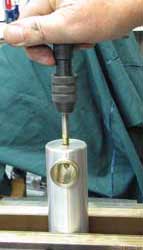
Once the glue was set, I drilled through the bronze, and finished the tapped hole all the way through:
My gravity feed bandsaw setup will only handle 2" diameter round rod, and I was going to use a piece of 4-1/2" steel to make the mounting disc. Rather than take a trip out to borrow time on a friend's saw, I hit on the notion of setting up to cut heavier sections on my old Delta 14" vertical saw. So, I made a simple wooden sled and let 'er rip:
Well, it was more of a slog than a rip, but since it ran unattended, I was happy with the results. Happy enough, that I decided to make a real fixture to handle up to 6" rounds on this saw. That was to be my next "for me" project, and I just finished it.
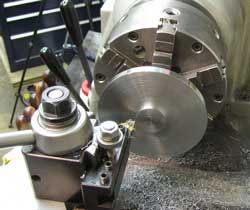
On the lathe, I faced and turned a preliminary hub on the disc, drilled and tapped to fit the spindle:
One of the many things I like about my Hardinge style lathe is the tapered nose mount. Chucks pop on and off so easily I don't even think about changing jaw arrangements. So, I screwed the disc onto the spindle, switched to the chuck with jaws to fit the small diameter, and proceeded to finish off the mounting disc, nice and concentric with the spindle:
I'd previously set the chuck to run true at that diameter when I threaded the spindle.
After measuring and plotting the bolt circle pattern, I unscrewed the disc from the spindle, drilled and tapped four mounting holes in the disc:
Then, the disc went back on the spindle with some red Loctite.
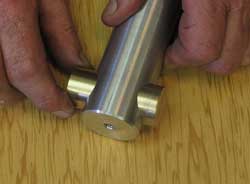
Here's a shot of the mounting disc and spindle, showing the turned section with a flat to hold the crank handle:
The handle itself is a heavy steel rod with a bolt near one end and a red polyethylene handle I turned freehand using my simple lathe tool rest and a nice wood turning gouge:
The completed handle:
Regular six-inch aluminum grinding wheels fit concentrically on the mounting disc hub and are held with four flat head 1/4-20 screws:
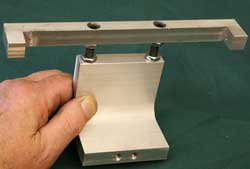
I didn't take any pictures when I made up this little tool rest:
It's just a section of aluminum "L" and and a simple adjustable support.
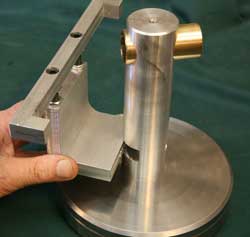
It fits neatly on the support post, which, in this photo is screwed to a six-inch diameter heavy steel base:
A little oil in the screw hole, followed by the flathead screw and my bearing was ready to run:
A couple more views of the assembled tool:
My first sharpening job was obvious - the all important pocket knife!
It doesn't show in the photos, but I used some carpet tape to stick a layer of leather on the bottom of the base to keep it from walking around as I cranked up some serious RPMs.
