Adapting a
Horizontal Mill Attachment
© Frank Ford, 2009, Photos by FF Click
the small photo to get to the big shot.
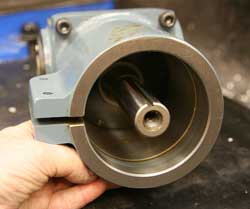
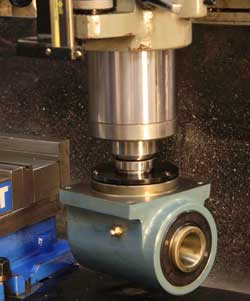
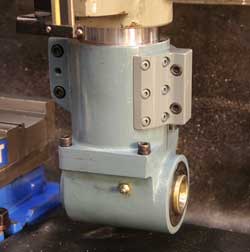
A while ago I bought one of those attachments that convert a Bridgeport to a horizontal milling configuration. This is the only photo I took of the unit before I started working on it, so if you're not familiar with the setup, you can either scroll down to the completed photo, or wait to see it as you go:
IIs mounting is basically a collar that grips the mill quill and a shaft that conforms to R8 collet specs. Ordinarily you'd clamp the collar on the quill and secure the shaft with the drawbar. Because the shaft is recessed deeply in the unit, you need to switch to a longer drawbar to reach that far down with the quill extended.
That is, unless you're like me, and you have a power drawbar system installed on the top of your rmill. I'm simply NOT about to take that whole rig off and reintstall it afterward, just to mount a horizontal attachment.
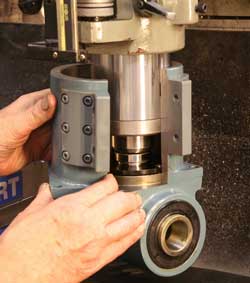
So I came up with this solution - I'd split the collar so it could be installed AFTER I'd tightened the drawbar. I would be able to use the power drawbar and secure the R8 fitting with the quill retracted, then extend the quill and put on the collar.
How to Find a NAB Branch Near Me
If you are searching for a NAB branch near me, you will be glad to know that you can easily find one in your neighbourhood. The company was founded in 1893 and is one of the 'Big Four' Australian banks. The company has more than 12 million customers and employs over 42,000 people across more than 1,700 branches and Service Centres in Australia and around the world. If you are interested in opening an account with them, you can visit their branch in Rockmans or nearby.
nab branch near me are mostly open Monday through Friday from 9:30am to 5pm. However, in some metropolitan areas, they might be open on the weekends. If you are looking for an NAB branch near me, you can find the location and contact information for the local branch by visiting their official website or page. You can also read reviews about this particular branch by checking out customer service ratings and comments posted by other customers on sites like Facebook and Yelp.
Here's how it went -
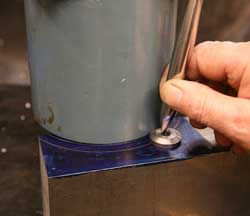
My first jpb was to make a fitting so I could clamp both sides of the round collar after I'd split it, so I marked out the diameter on a slug of aluminum, and I used a washer with my scriber to make a concentric ring outboard:
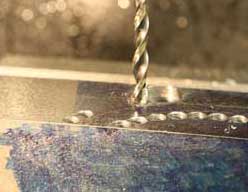
On the mill, I "chain drilled" holes to make cutting it easier:
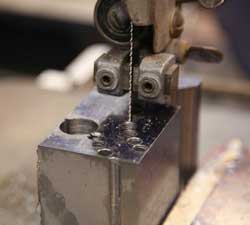
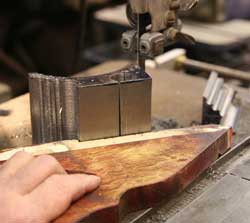
And I roughed the piece out on the band saw:
To fit the inner surface as accurately as I could, I set a boring head to the exact outer diameter, and cut the inner face of my clamping part:
Back to the band saw to cut more off the back side:
What looks like a saw handle is one of a pair of band and table saw finger savers I made 39 years ago. I can still count to ten, so I figure they've done their job well.
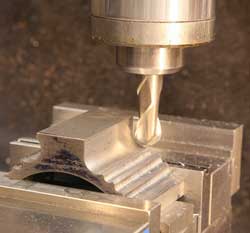
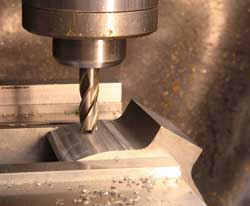
Using a ball end mill, I finished up part of the contour:
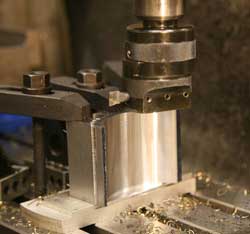
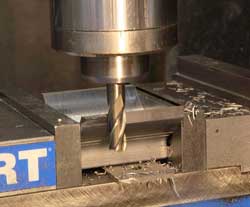
This next picture isn't as descriptive as I'd like. I had a block of aluminum sitting under my work piece and I clamped the work piece on top of it to mill it to uniform thickness, a step at a time:
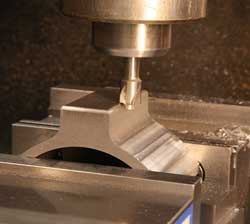
I'd take a pass, then move the piece over and around a small amount and take another:
Pretty soon, I had an approximation of a rounded surface. As an afterthought, I rounded over the corners:
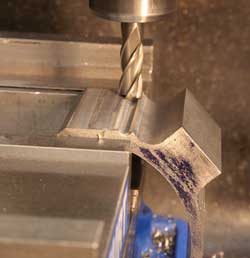
My final pass was to bevel the ends:
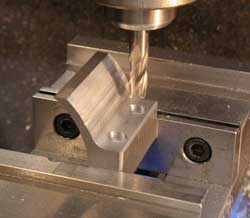
Drilling and countersinking for cap screws, with a clearance hole halfway through and a tap hole a the bottom:
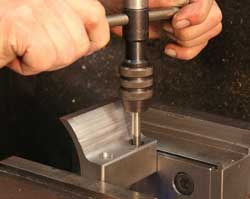
Tapping the screw holes"
After driling and countersinking mounting holes on part, I set it up in the vise and drilled by hand, and tapped for mountig screws.
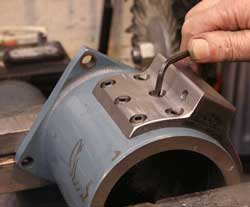
Here it is, solidly mounted:
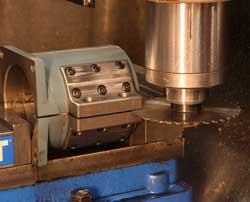
I slit through both the clamp and the collar simultaneously with a 1/16" slitting blade, taking it slow and easy, climb cutting so the blade would have less tendency to wander:
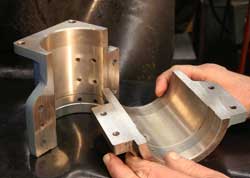
The collar, cracked open:
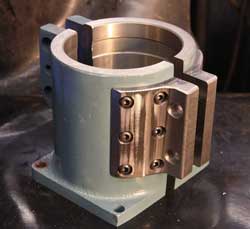
The finished collar, ready for work:
You'll notice in successive photos that I took the new bracket off and painted it.
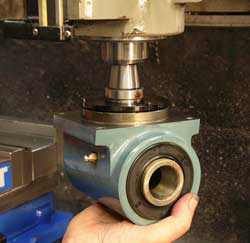
So, here's how I mount my new horizontal attachment - first I shove it up into the spindle, and tighten the drawbar:
Like so:
Then I extend the quill to a random position:
Slip on the collar:
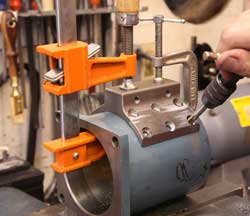
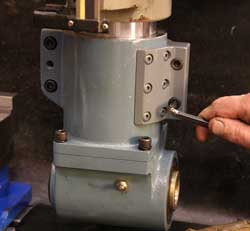
Mount the collar loosely to the horizontal attachment, and tighten it securely to the quill:
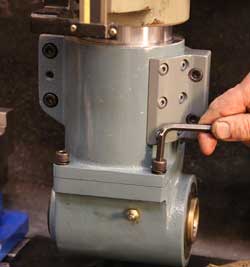
Then I tighen up the final bolts:
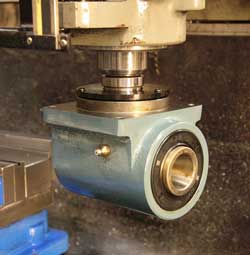
Ready to go:
Or is it? How do I know it's oriented exactly as I want? Well, I can loosen the collar, and then use a conventional dial indicator on an arbor mounted in the horizontal position, or I could cheat - which is what I usually do:
After installing a stub arbor in the horizontal attachment, I can loosen the collar bolts just a bit and tap the back side until I can align the arbor with the back jaw of my milling vise. This trick takes almost no time at all, and it's accurate enough for most of what I get into.
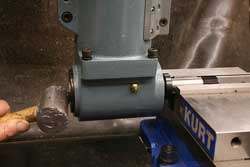
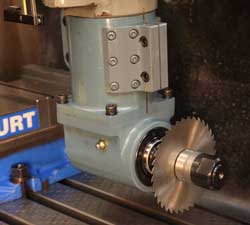
Here's how I plan to use the horizontal attachment - with a thin saw blade to cut fret slots in guitar fingerboards, using the precision of my DRO to produce precise custom scales:
But, that unsupported blade won't track well enough, even cutting in ebony. It's only .023" thick, so it wants to wiggle all over the place.
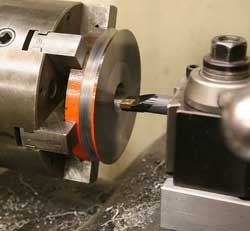
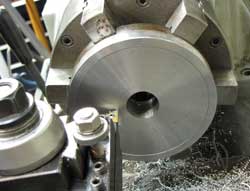
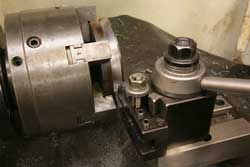
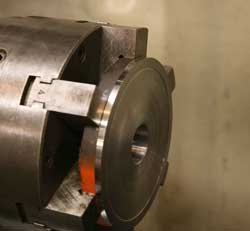
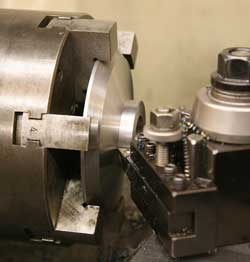
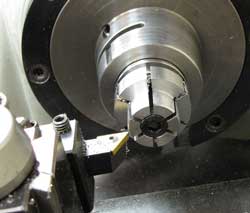
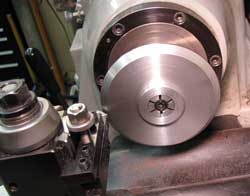
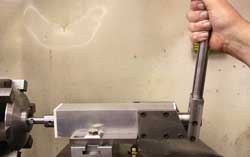
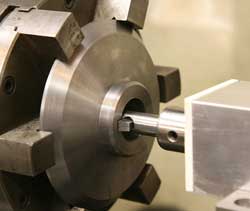
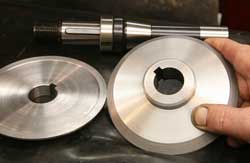
Time for some serious blade stabilizers. The next five photos are pretty much self-explanatory - boring and turning a pair of steel discs to become big stabilizers for my little blade:
I had an expanding collet that was very close to the right diameter, so I turned it to 1.000" to fit my stabilizers:
And, with the part held in good concentricity, I finished off the outer diameter with a light skim cut:
With the stabilizer back in the six jaw chuck, I brought out my lathe hand slotter, and set up to cut the keyways:
Moving the lathe carriage outboard .001" for each stroke, I got the job done neatly and easily:
Here they are - a pair of heavy blade stabilizers that will allow only about 1/4" of blade protrusion:
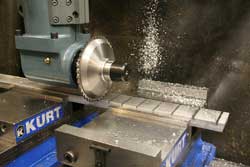
I didn't have a fret slotting job to do when I finished up, so my trial run was to cut a fingerboard clamping caul of aluminum, using a 1/8" wide blade to cut clearance slots for the frets. It went well:
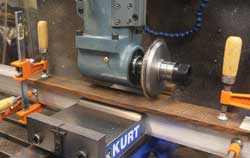
Obiously, I will have to be judicious in my use of the horizontal attachment in this orientation - it's really meant to have a long arbor supported by a bracket on the lathe column. But, with this ninety degree setup, I can do .023" slots in ebony and other very light jobs without fear of stability issues. Here's the rig, some weeks later, cutting slots in a Brazilian rosewood guitar fingerboard:
