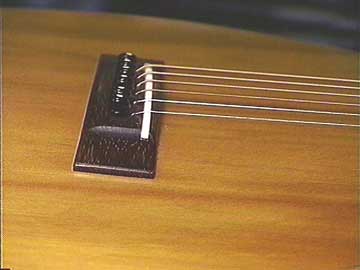
I placed the new bridge plate in position and lined up the dots with the bridge pin holes:
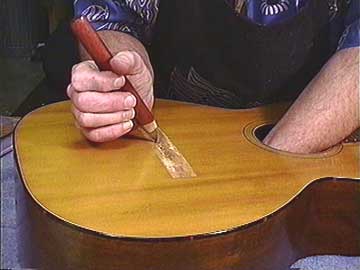
Then, using my pointy knife, I stabbed the plate to hold it in place:
I was able to work quickly with both hands, getting the aluminum caul right on top of the new bridge plate:
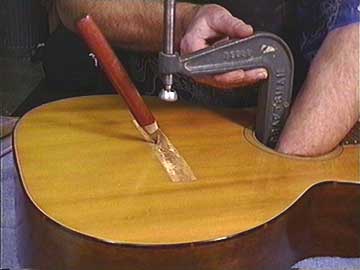
Then, removing the knife, I laid on a sheet of clear acrylic topped by a 3/4" plywood caul:
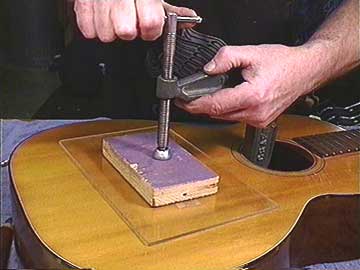
Quick! Two more clamps and the job was done:
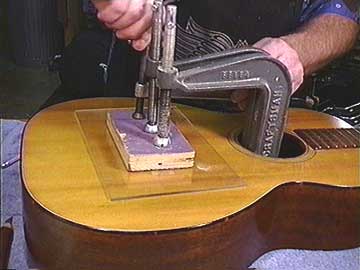
The next day, I had a fine result:

The top was flat and strong as the day the guitar was built.
Inside, the new bridge plate was ready for service:
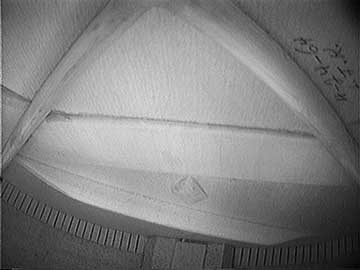
All I had left to do was to reglue the original bridge, drill the bridge pin holes and set up the guitar, with the confidence that it was as solid and durable as a new instrument:
