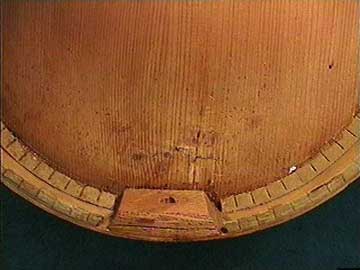
Well, here it is, with all the cracks glued up. All the parts are aligned correctly, but the whole area is desperately fragile:

Now I have to be extremely careful not to break the cracked area open again, and when I do, I have to reglue the crack before proceeding.
The end block is extremely well glued to the sides, so I'll split in in two:

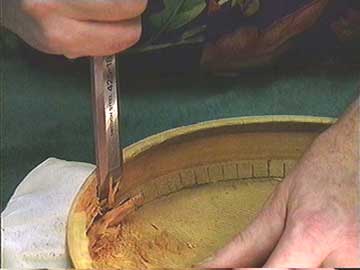
And use my sharpest chisel to chip off all the end block from the sides:

Then I'll carefully pry the sides loose from the top just as I pried the back loose.
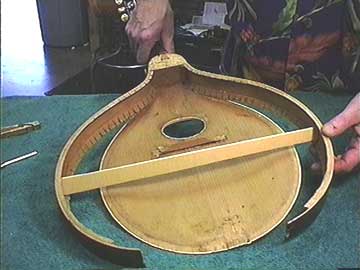
With the sides loose and the end block removed, I can spread the sides to get access to the damaged area:

Wow! That's a lot of preparation just to get to the area to be fixed.
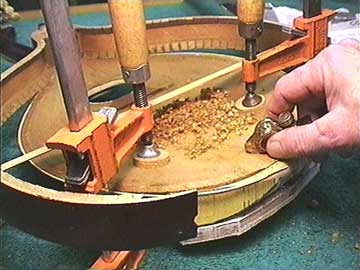
I have the top clamped to my plaster mold and I'm beginning to cut into the damaged area with my small "finger plane"

In this area, the top is only a couple of millimeters thick, so any pressure will crack it for sure. But with a perfectly fitted plaster cast underneath, I can bear down with my little plane and work with no danger of straining the top.
More