A 1940 Martin 000-28 gets
A New Nut
© Frank Ford, 6/27/99; Photos by FF, 5/1/99
I'd like to show you my general process in actually making a replacement nut. Of course, I can't go into all the details of fitting a new nut because there are so many possible difficulties that can crop up, especially with older instruments. As a repairman, my goal is to be anonymous, so I rarely change the style from that of the original manufacture.
This old 000-28 has been refretted a few times, and the nut has been recut, shimmed, and recut again. I have nothing against shimming a nut, but if the shims are too thick, they don't help the appearance at all! So, this nut replacement job is a matter of improving appearance. The original nut is ivory, which I'm replacing with bone, which, besides being politically correct, is also harder and more durable.
I like to make a small cut just behind the nut so that the peghead veneer or finish won't be damaged when I remove the old nut:

With the finest X-acto saw blade, I cut through the veneer, using my left thumb to hole the blade firmly against the back side of the nut. This little cut is only .010" wide, and is unnoticeable after the nut is replaced.
Now, all I have to do is tap the nut sharply with a hammer and a small protective block of wood to dislodge it:

It doesn't matter how tightly it's glued in place because no glue sticks all that well to nut material, or the end grain of the fingerboard. The nut always pops right out neatly.
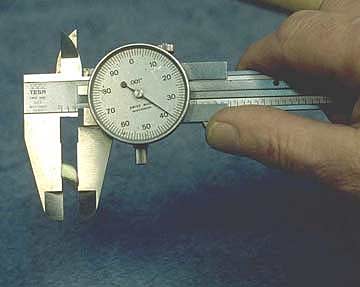
I'll want to make my new nut the same size as the original, so I'll measure the thickness of the blank I'll need, making sure the flat front surface of the nut is held against the jaw of my caliper:

Actually, I really don't read the dial. I just lock the jaws and use the caliper as a "go-no-go" gauge and trial fit the nut blank as I adjust its thickness.
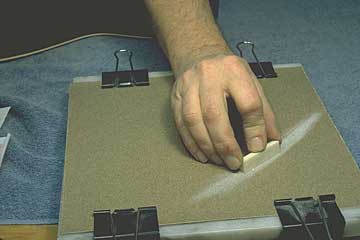
My favorite nut blank flattening and shaping device is an old marble cutting board to which I've clipped a sheet of 150 grit sandpaper:

By rubbing the bone nut blank on a new sheet of 150 grit, you'd be surprised how quickly I can flatten and shape it.
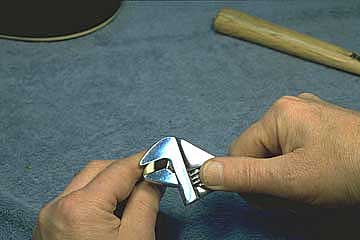
By the way, if I can't locate my caliper, I'll sometimes use an adjustable wrench:

As a quick gauge, it works almost as well as the real thing!
Once I have the nut blank flattened and reduced to the proper thickness, it's time to establish the bottom surface. On Martin guitars made before 1999 the bottom surface is in the same plane as the peghead. Most other guitars, including many recent Martin models, have the bottom surface on the same plane as the fingerboard. Lots of guitars have been altered slightly with replacement nuts and may have the bottom surface of the nut slot at an unusual angle.
I'll hold the nut at an approximate angle and rub it on my flat sandpaper plate:

I could spend some time and make a little fixture to establish this angle, but I find it quick and easy to do it freehand, simply comparing it against the original nut.
The key to comparing the angles is to hold the flat surfaces against a straightedge, and slide the new rectangular blank up against the bottom of the original nut:

This may seem tedious, but it rarely takes more than a minute or so. At this point the new blank should fit right in place, because the width is right, and the bottom is cut to the proper angle.
More