 |
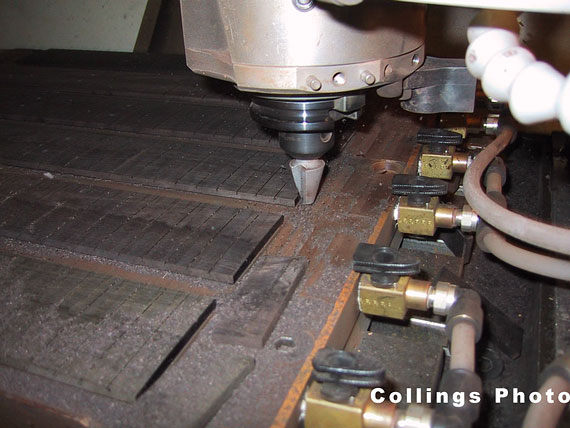
Much of the CNC work is done on wooden parts held by vacuum. Each of these vacuum chucks is custom made for just one purpose. |
 |
Another index hole. |
 |
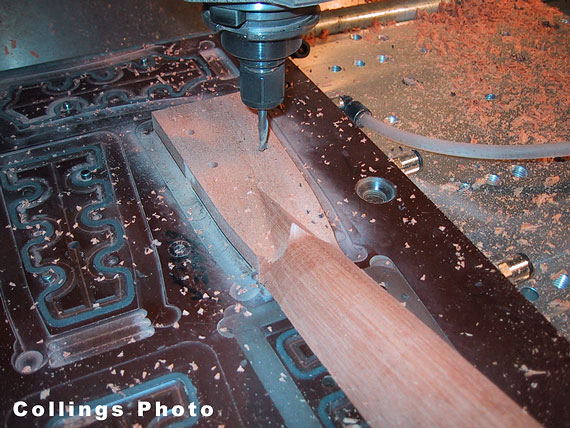
Routing the channel for the truss rod. |
 |
A neck blank showing the truss rod channels. |
 |
The peghead veneer gluing station. |
 |
All clamped up. |
 |
The adjustable truss rod has a heavy slug at the end opposite the adjusting nut |
 |
It's a fixed anchor mounted at the peghead end of the neck, near the nut. |
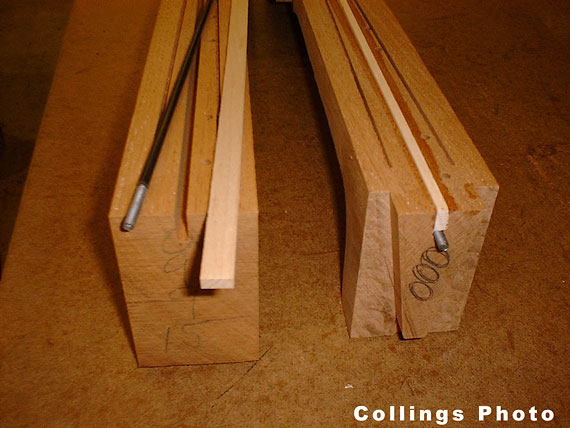 |
On top of the truss rod, a filler strip is glued to keep it in place near the back of the neck. |
 |
Those other two channels get filled with epoxy. |
 |
And into each channel are inserted strips of spring steel. Mounted on edge, these steel strips add a good deal of rigidity to the neck. |
 |
The long brass adjusting nut sticks into the body for easy access through the soundhole. |
 |
More CNC. |
 |
A rounded end mill carves the neck and heel profile. |
 |
Leveling the back of the peghead and forming the "diamond." |
 |
Automatically, changing heads, the machine trims the end of the peghead. |
 |
Another tool change and tuner holes are drilled. |
 |
Some finish cuts on a slotted peghead for a 12-fret model. |
 |
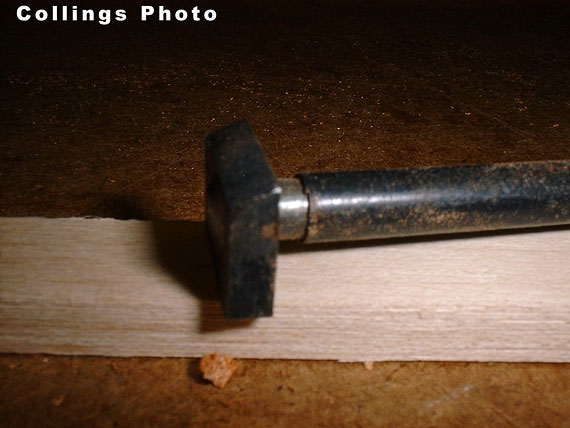
The nut slot is cut with the same precision as the nut itself for a perfect fit. |
 |
Look at the final product from the CNC. |
 |
All this CNC machining does not save much time. In fact, I suspect it would be somewhat faster to make guitars without as much CNC tooling. Collings uses the tooling, not to increase speed, but to increase precision. |
 |
The CNC is the perfect tool for making fingerboards. Fret slots are cut to precise tolerances |
 |
The machine automatically changes tools and trims the ends of the boards. |
 |
Changing to a straight cutter, the side profile is trimmed |
 |
And again, routing the cavities for inlay position markers. |
 |
A final leveling cut. |
 |
Held up against this fence, the fingerboard holder indexes on the little rod at the bottom |
 |
The fingerboard edge is drilled for the side position markers. |
 |
Tape protects the fingerboard from excessive glue squeeze out. |
 |
Fingerboards are glued on with epoxy to avoid having any distortion by water absorbed from glue. |
 |
Fingerboards are clamped against a rigid and flat caul. |
 |
Here's some real precision applied to the problem of complex plastic binding. Laminated ivoroid binding strips are bent and held in these phenolic holders, which are swished through a bath of hot sand, making the strips conform to the curved shapes. |
 |
Once cool, the strips are taken from those heated holders and placed into CNC forms, where the ends are trimmed precisely. |
 |
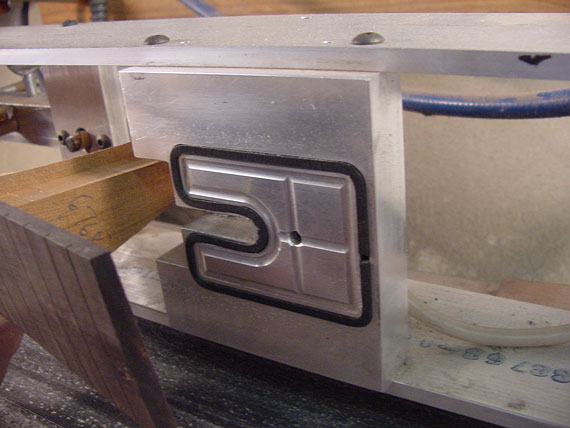
Then, both the peghead overlay (previously itself cut on CNC) and the binding are glued up in yet another CNC milled form |
 |
Here, everything snaps precisely into place and is held as the glue dries, forming the neatest possible joints. |
 |
The flat fingerboard gets its radius established on this special belt sander. |
 |
There's a vacuum chuck to hold the overhanging end of the fingerboard. |
 |
The nut slot fits precisely onto this end of the holder. |
 |
At the back edge, there are a couple of adjustable supports to keep the shaft of the neck from deflecting during the sanding operation. |
 |
Now, the entire business is pressed against the running sanding belt. |
More